Conduct
Best Microchannel Pipettes: A Comprehensive Guide
Introduction Pipetting, at first glance, would seem a fairly simple and easy task. Essentially described as glass or plastic tubes used to measure and transfer
Introduction Pipetting, at first glance, would seem a fairly simple and easy task. Essentially described as glass or plastic tubes used to measure and transfer
Resource Identification Initiative: A Key to Scientific Success and Analytics The key to success can be found in the essential principles of the Resource Identification
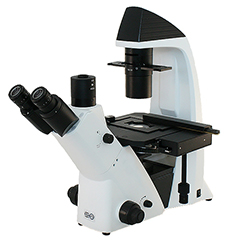
INTRODUCTION AND BRIEF HISTORY One of the most important pieces of equipment in the laboratory is the centrifuge, which facilitates the separation of samples of
INTRODUCTION AND BRIEF HISTORY One of the most important pieces of equipment in the laboratory is the centrifuge, which facilitates the separation of samples of