Browse our complete catalog of scientific instruments and research tools. Use categories to narrow your search.
Showing 1–24 of 2321 products
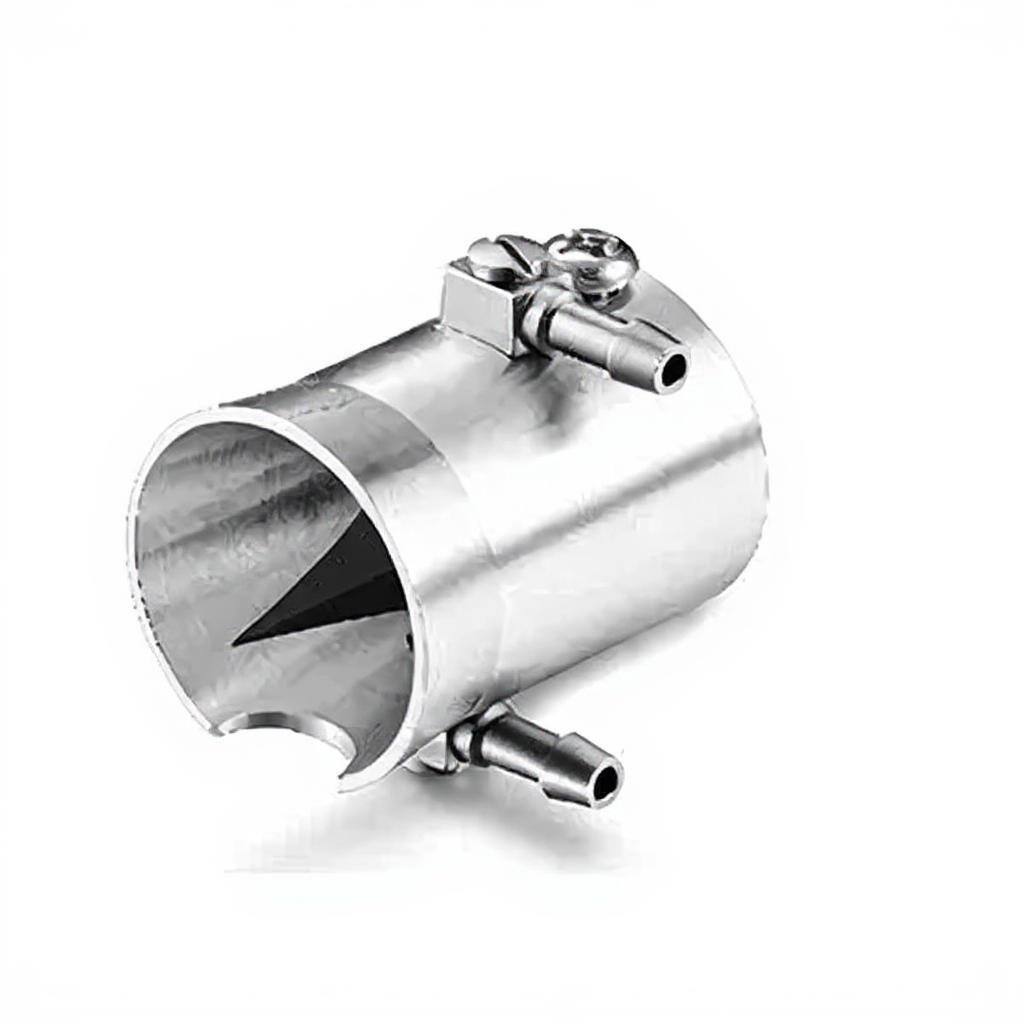
Cylindrical device closed on one end · Open groove extends from opening to center of endplate for nosepiece adjustment · Slit runs entire length of tube for tail access
0.1-4L/min · 1.2m · R510-31S
Y-shaped · 2 · Behavioral learning and memory
68620 anesthesia operation platform · 300 x 210 x 75mm · Yes
Mouse — 9 × 17 cm · ø1.5 x 15mm · compatible with various stereotaxic instruments
CO2 inhalation · CO2 · Two-piece chamber
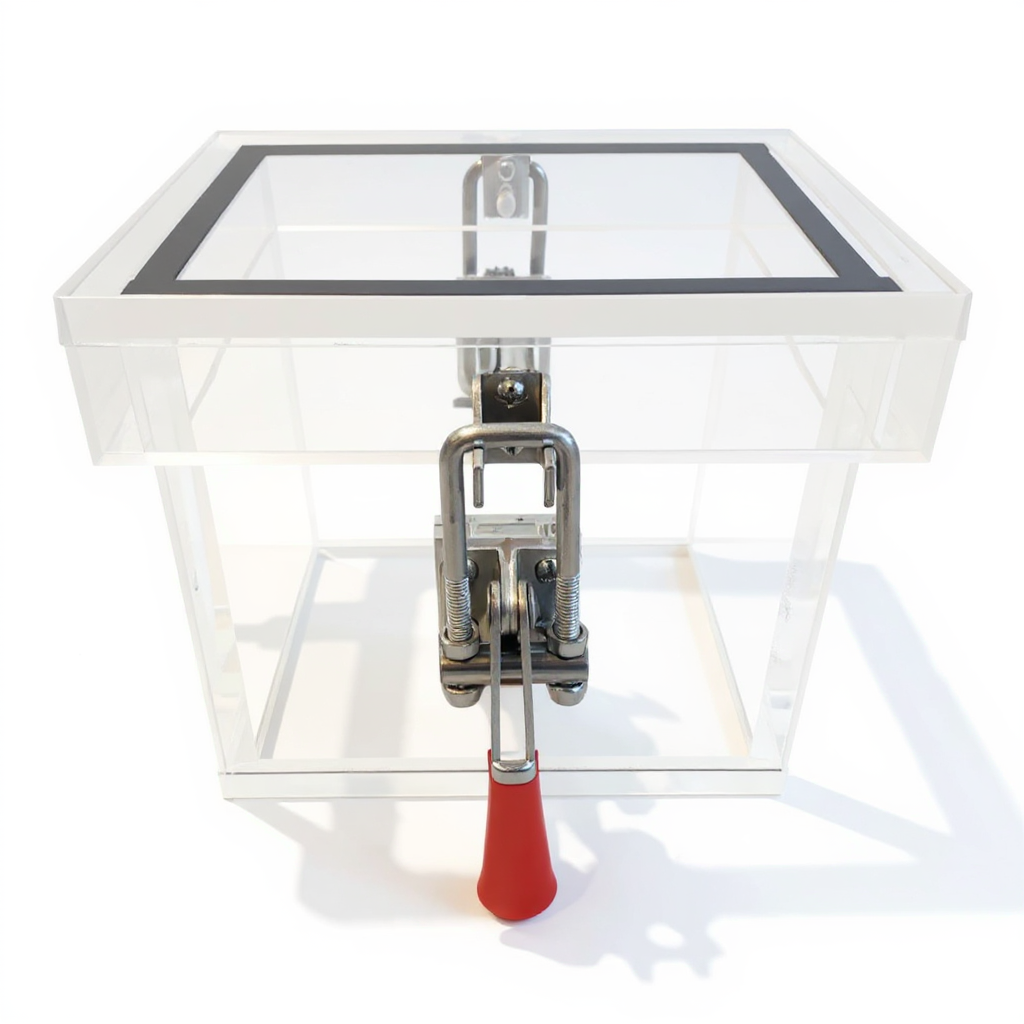
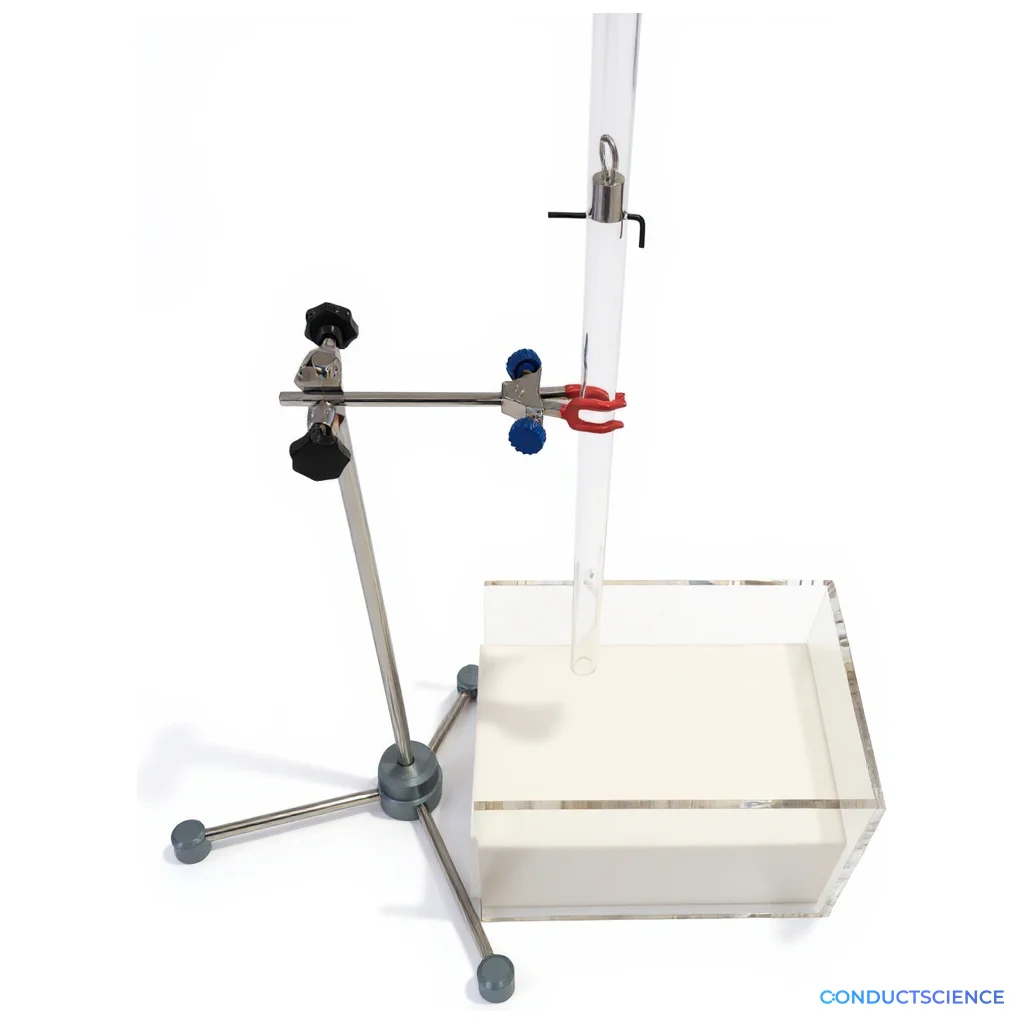
Two sizes (for mice and rats) · Bright light illumination system · Four suction cup feet
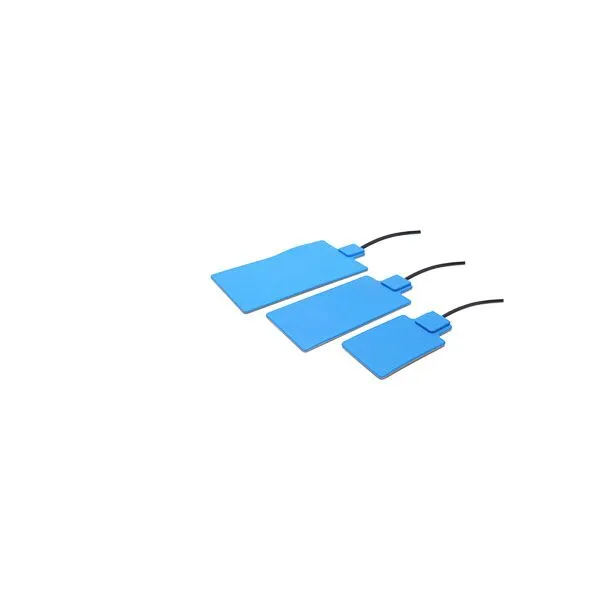
3-4mm · 5-6mm · Cylinder-like silicone head
20 · retractable · 60% to 80%
small in size · lightweight · Standard, Advanced, High Speed
up to 200g · isoflurane and sevoflurane · RWD-R510-31
10 RGB LEDs · approximately one every 2cm · 180°
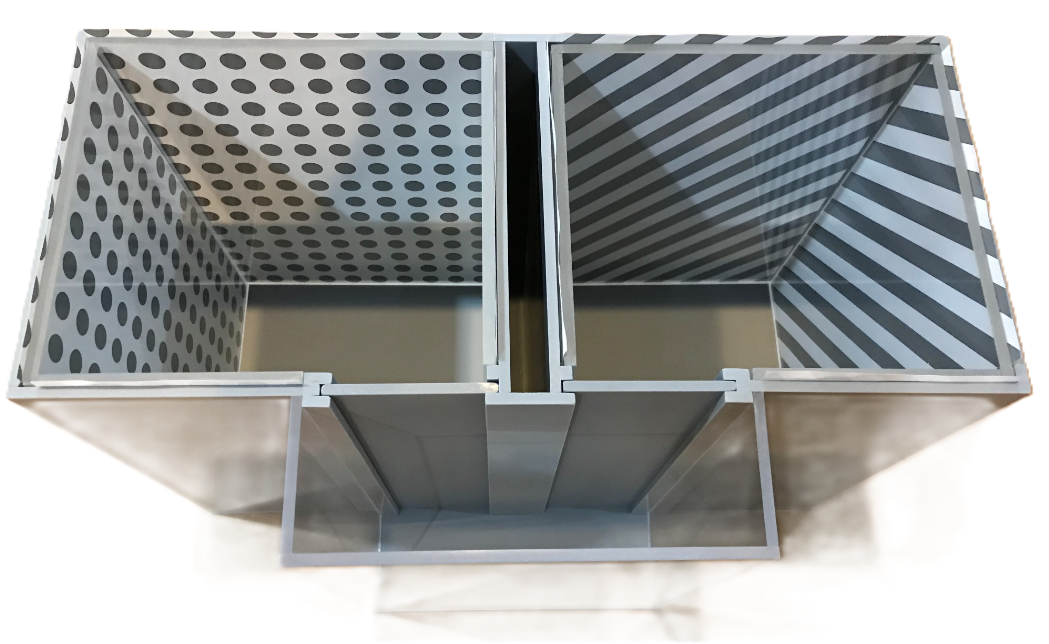
dual-chamber/two-chamber · biased and unbiased conditioned place preference testing · visual pattern inserts sandwiched between layers
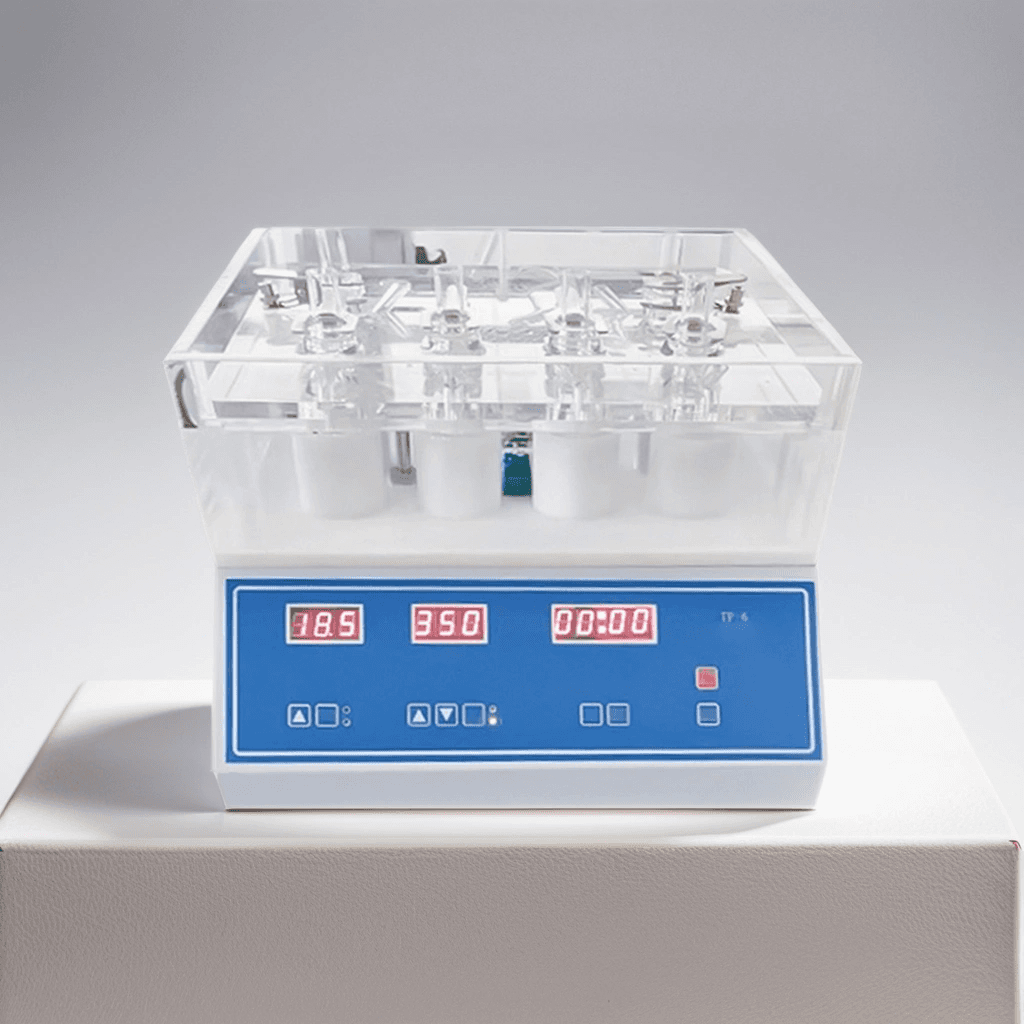
6 · 15 ml Vertical Cells (Standard), 10 ml Vertical Cell, 5 ml Horizontal Cells (optional) · 6
5μm/min to 130mm/min · 10μl to 60ml · push-pull mode for filling and extraction
opaque or clear · easily detachable for easy cleaning · grid floor inserts available for video tracking
Cuffed or Uncuffed · Low-volume high-pressure or High-volume low-pressure · 2 to 5 ml
22mm · 15mm · Mapleson F Non-rebreathing Circuit (Jackson-Rees), Modified Mapleson D system (Bain Coaxial), Breathing Circuit Duo-limb
Variable spacing between rungs · Individual rungs can be removed · Clamps to end plates
8.5cm to 12.5cm · 0.8mm to 1.8mm · 9cm to 12.5cm
Passive (collinear inlet/outlet ports for charcoal canisters), Active (separate non-collinear inlet/outlet ports for active evacuation) · Most stereotaxic frames · Cone opening faces the 'U' of the frame
manual · Analytical Chemistry