Microfluidic technology has revolutionized the way researchers manipulate and analyze fluids at the microscale, offering unprecedented control and precision. Custom microfluidic chips, tailored to specific experimental needs, play an important role in advancing research in fields ranging from biology to chemistry. In this blog, we’ll walk you through the process of crafting your own custom microfluidic chips, from design to fabrication.

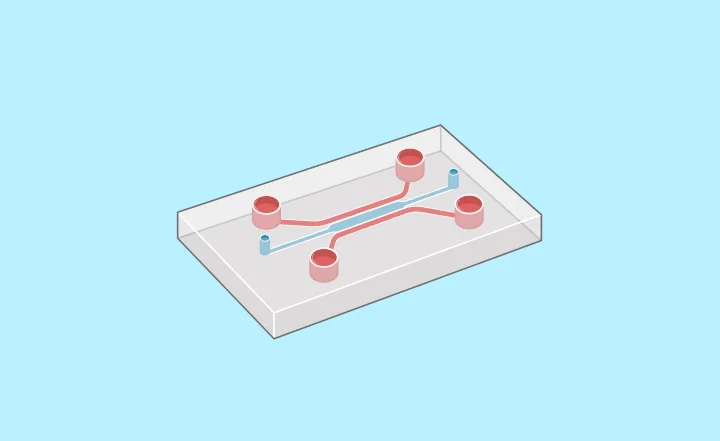
Figure: Microfluidic Chip
The first step in creating a custom microfluidic chip is designing its layout. This involves deciding on the dimensions, shapes, and connectivity of the microfluidic channels and chambers. Software tools such as AutoCAD, Adobe Illustrator, or specialized microfluidic design software like L-Edit or CoventorWare can be used for this purpose. Considerations such as fluid flow rates, mixing efficiency, and compatibility with fabrication techniques should guide your design choices [1].
Selecting the appropriate material for your microfluidic chip is crucial. Common materials include glass, silicon, and various polymers such as polydimethylsiloxane (PDMS) and polymethyl methacrylate (PMMA). Each material has its advantages and limitations in terms of optical transparency, biocompatibility, and fabrication complexity. Consider the specific requirements of your experiment when choosing the material for your chip [2].
Once you have finalized the design and chosen the material, it’s time to fabricate your custom microfluidic chip. Several techniques are commonly used for this purpose:
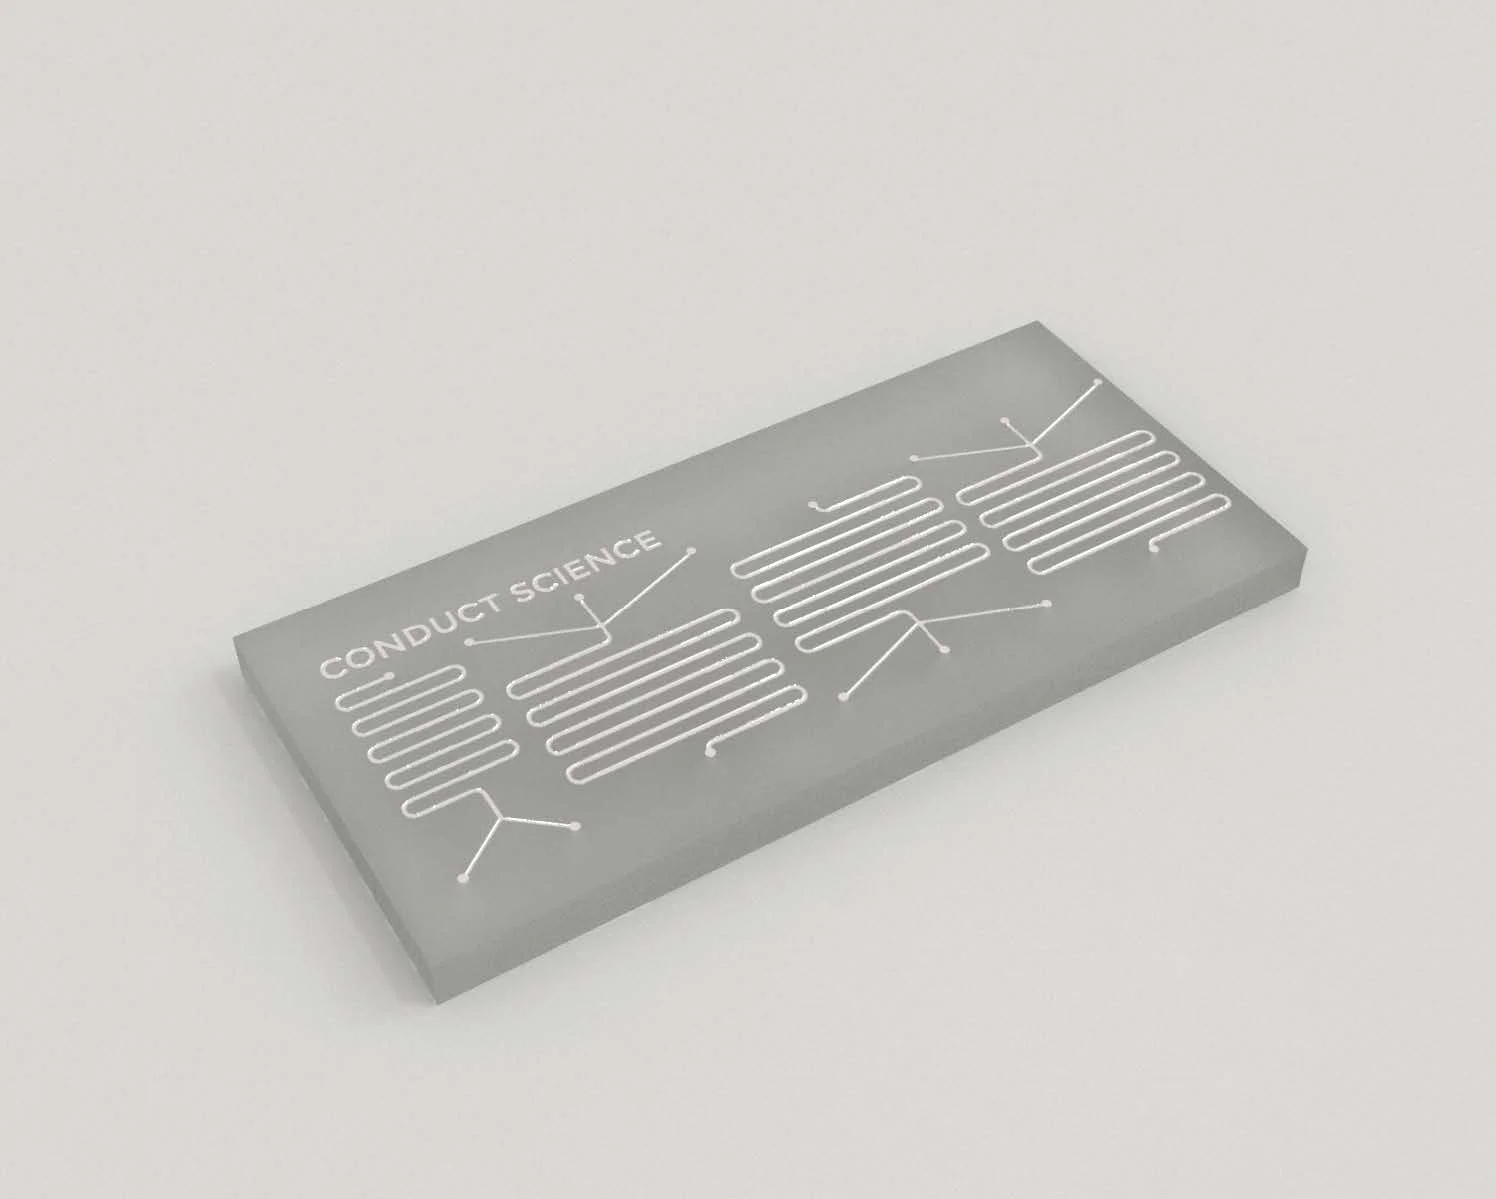
Laser Micromachining: Laser-based techniques, such as laser ablation and laser cutting, can be used to directly sculpt microfluidic channels and features on various substrates. These techniques offer high precision and are well-suited for fabricating custom microfluidic chips with intricate designs [3].
Once the microfluidic structures are fabricated, they may need to be assembled and integrated with other components, such as connectors, valves, and sensors, depending on the specific application. Bonding techniques such as plasma bonding, thermal bonding, or adhesive bonding may be employed to seal the microfluidic channels and ensure leak-free operation [4].
Before deploying your custom microfluidic chip for experiments, it’s essential to thoroughly test and validate its performance. Conducting flow tests, evaluating mixing efficiency, and assessing biocompatibility are some of the key steps in this process. Iterative refinement of the design and fabrication parameters may be necessary to optimize the chip’s performance for its intended application [5].
Crafting custom microfluidic chips is a multidisciplinary endeavor that combines principles from engineering, physics, and biology. By following the steps outlined in this guide and leveraging the diverse fabrication techniques available, researchers can create tailor-made microfluidic platforms to address a wide range of scientific questions and challenges.
Start exploring the possibilities of custom microfluidic chip fabrication today and unlock new opportunities for innovative research and discovery. Get the best ones at ConductScience! https://conductscience.com/lab/custom-microfluidic-chips/

Vanja works as the Social Media and Academic Program Manager at Conduct Science. With a Bachelor's degree in Molecular Biology and Physiology and a Master's degree in Human Molecular Biology, Vanja is dedicated to sharing scientific knowledge on social media platforms. Additionally, Vanja provides direct support to the editorial board at Conduct Science Academic Publishing House.
Monday – Friday
9 AM – 5 PM EST
DISCLAIMER: ConductScience and affiliate products are NOT designed for human consumption, testing, or clinical utilization. They are designed for pre-clinical utilization only. Customers purchasing apparatus for the purposes of scientific research or veterinary care affirm adherence to applicable regulatory bodies for the country in which their research or care is conducted.